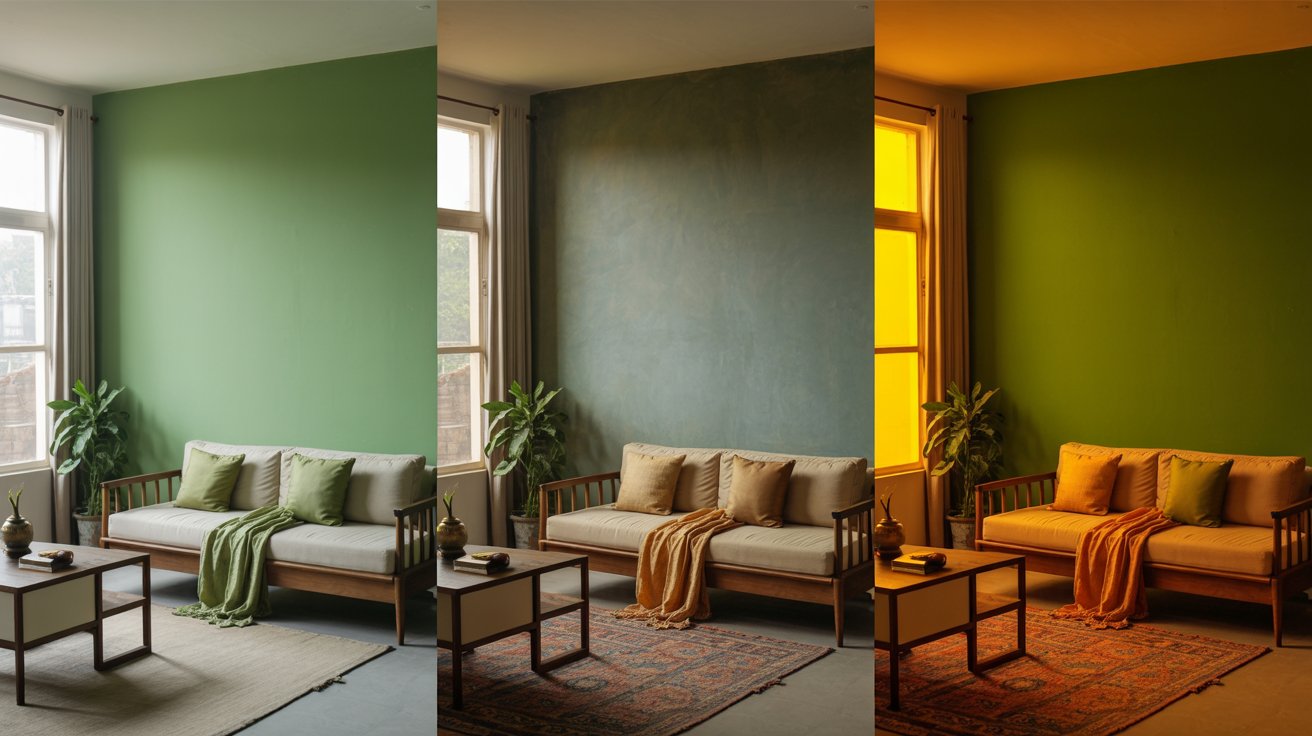
Ombre walls are a stunning way to add depth, dimension, and a touch of artistic flair to any space. Whether you want a soft, subtle gradient or a bold, dramatic effect, DIY ombre wall painting is a fantastic way to personalise your home. In this guide, we’ll walk you through how to paint an ombre wall step by step, ensuring a smooth, seamless transition between colours.
Why Choose an Ombre Wall?

Ombre walls create a visually dynamic effect that enhances any room. Some benefits include:
- Aesthetic Appeal: A beautifully blended gradient creates a calming and elegant look.
- Customisation: You can choose colours that match your decor and mood.
- Easy DIY Project: No need for professional painters—this technique is achievable with the right tools and patience.
- Versatility: Works well in bedrooms, living rooms, nurseries, and office spaces.
Tools and Materials Needed
Before starting your DIY ombre wall painting project, gather the following materials:
- Three or more paint colours in gradient shades
- Paint rollers and brushes
- Painter’s tape
- Paint trays
- Water spray bottle
- Sponge or blending brush
- Drop cloths to protect the floor
- Ladder (if necessary)
How to Paint an Ombre Wall: Step-by-Step Guide

Follow these simple steps to achieve a flawless ombre effect:
Step 1: Prepare the Wall
- Clean the wall surface to remove any dust or dirt.
- Apply painter’s tape along edges, trim, and ceiling to keep lines clean.
- Use a primer if your wall has a dark or uneven surface.
Step 2: Choose and Mark Your Colour Zones
- Select three or more colours that transition smoothly from light to dark.
- Divide the wall into sections based on the number of colours. Use a pencil or chalk to lightly mark transition points.
Step 3: Apply the Base Coat
- Start with the lightest colour at the top (or bottom) of the wall.
- Use a roller to evenly coat the section and let it dry completely.
Step 4: Apply the Middle and Darker Shades
- Paint the second section with the next darker shade, slightly overlapping the first colour.
- Repeat the process for the darkest shade in the final section.
- Using a high-quality interior emulsion ensures a smooth, durable finish and vibrant colour payoff.
Step 5: Blend the Colours
- While the paint is still wet, use a damp sponge, blending brush, or a dry roller to softly blend the transition areas.
- Work in small sections, moving side to side to create a smooth gradient.
- If needed, use a spray bottle with water to keep the edges wet for easier blending.
Step 6: Final Touch-Ups
- Step back and evaluate the gradient effect.
- If any harsh lines remain, lightly blend again using a sponge or dry brush.
- Allow the wall to dry completely before removing the painter’s tape.
Tips for a Perfect Ombre Wall

- Work quickly: Blending works best while the paint is still wet.
- Practice on a sample board before applying paint to your actual wall.
- Use quality brushes and rollers to achieve a seamless look.
- Choose colours with similar undertones for a natural gradient effect.
Conclusion
Creating an ombre wall is an exciting and rewarding DIY project that adds elegance and personality to your space. The key to a flawless ombre effect lies in using high-quality paints that offer smooth blending and long-lasting vibrancy. Indigo Paints’ Premium Interior Emulsions provide excellent coverage and a rich finish, making them the perfect choice for your ombre wall transformation.
With the right tools, a little patience, and Indigo Paints, you can achieve a professional-looking gradient that enhances your home’s aesthetic. Ready to try it? Explore Indigo Paints and start transforming your walls today!